Dash Enterprise
Using Dash with MDM
If you are using an MDM solution in your business, Dash Enterprise allows you to deploy and configure Dash using managed configurations. Configure Dash's settings and also the behavior of your display device (for example by turning on kiosk mode to lock the device to Dash).
We have created a standalone guide that shows you how to configure Dash using your MDM service:
Download guideSetting up Dash in your MDM system
The following instructions explain how to configure Microsoft InTune to manage your Dash display devices. It covers the process of adding Dash to InTune, and creating a configuration profile for your devices. Other MDM systems are set up in a similar way, and if you would like help setting up Dash with your MDM system please Contact us for support.
Prerequisites
Before adding Dash to InTune, you should create one or more device groups for your display devices. You should have one group corresponding to each unique configuration profile that you plan to make. For example, if you plan to have a different configuration profile for each of your office locations (to allow for different branding etc.) then you should create a group for each location. If you plan to use the same Dash options for all your display devices, you can just create a single group.
For information on how to add groups in InTune, please see Microsoft’s documentation.
Note: If you are planning to use InTune with Android devices, you will need to connect your InTune account to a Managed Google Play account before following the steps in our guide. For information on how to do this, please see Microsoft’s documentation.
iOS instructions
Step 1: Add Dash to InTune
In your Endpoint manager console, click Apps then All apps.
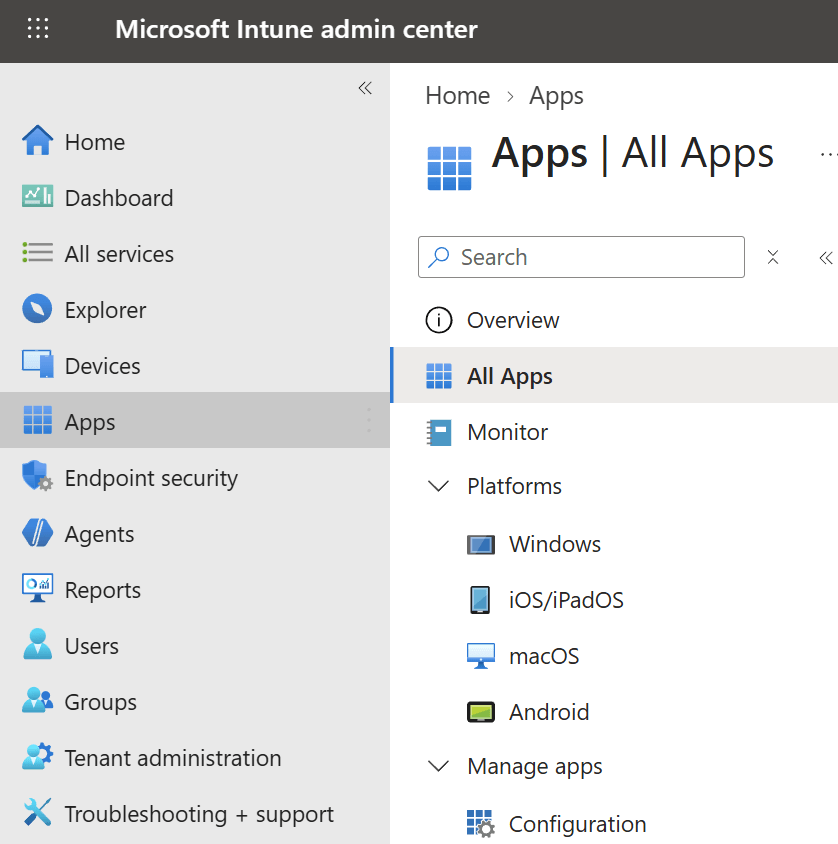
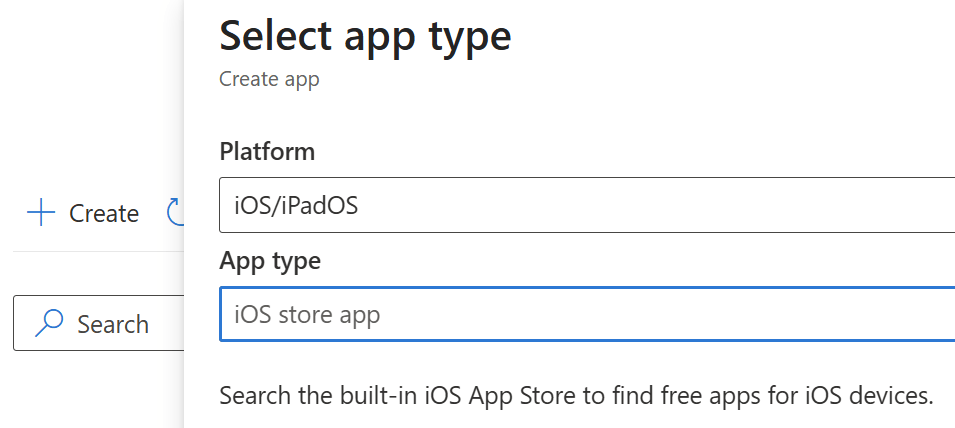
Click Create then select iOS/iPadOS as the platform and iOS store app as the type, then click Select.
Click Search the app store and enter “Dash meeting room display”. Dash should be returned in the search results. Click it, then click Select.
You should now see a page showing Dash’s app info. The fields will be pre-filled for you, but it is important to change the Minimum operating system version to “12.0” as this is the minimum version of iOS that Dash supports.
Assign the app to your desired groups. Add groups to the Required section to have Dash installed automatically on devices in those groups. Add Dash to the Available for enrolled devices section to make Dash available to install manually.
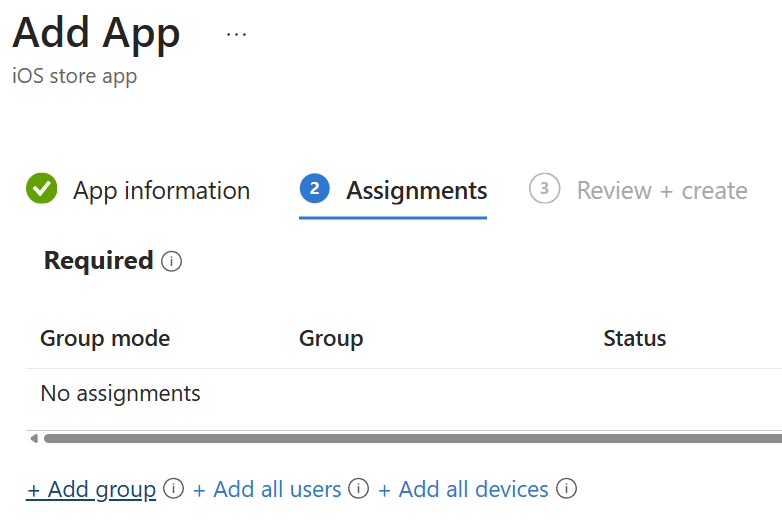
Click Next to load the review screen. Make sure that all details are correct, then click Create.


Step 2: Create the managed profile for Dash
In the endpoint manager console, click Apps then App configuration policies
Enter a name for your configuration
Click Add and select Managed devices as the type
Set iOS/iPadOS as the Platform then click Select app (next to Targeted app) and choose Dash and click Next
Press Next. You will now need to choose between using the configuration designer, or entering an XML configuration:
Configuration designer
The configuration designer allows you to enter each of Dash's settings, its type, and its value. You can find documentation on each of Dash's options in our MDM configuration guide PDF.
You will need to specify the license key, but all other configuration options are optional and any option not specified in your MDM configuration can be configured locally on the device. We recommend configuring the calendarProvider option, as well as all of Dash's settings and branding in your MDM configuration, and setting the calendar option locally on the device. This makes it easier to have a single MDM configuration cover multiple devices and meeting rooms.
iOS XML configuration
If you prefer, you can enter your configuration as a file. iOS configuration files use the Property List (plist) file format (defined by Apple). To make the process easier, Dash supports the AppConfig specification which allows you to generate a plist configuration file using a graphical interface. Download our Managed App Configuration specfile and then use it with the Jamf AppConfig Generator. The generator will allow you to choose Dash's settings using a graphical interface, and will then generate a Plist file. The generated file will include all possible Dash configuration options, but you can remove any options that you'd prefer to manage on the device from this file before you add it to your MDM system.
Please note that we have observed a bug with Jamf's download functionality that can corrupt some of the values you enter in the GUI. We recommend copying and pasting the XML directly from the page rather than pressing the download button.
Android instructions
Step 1: Add Dash to InTune
In your Endpoint manager console, click Apps then All apps.
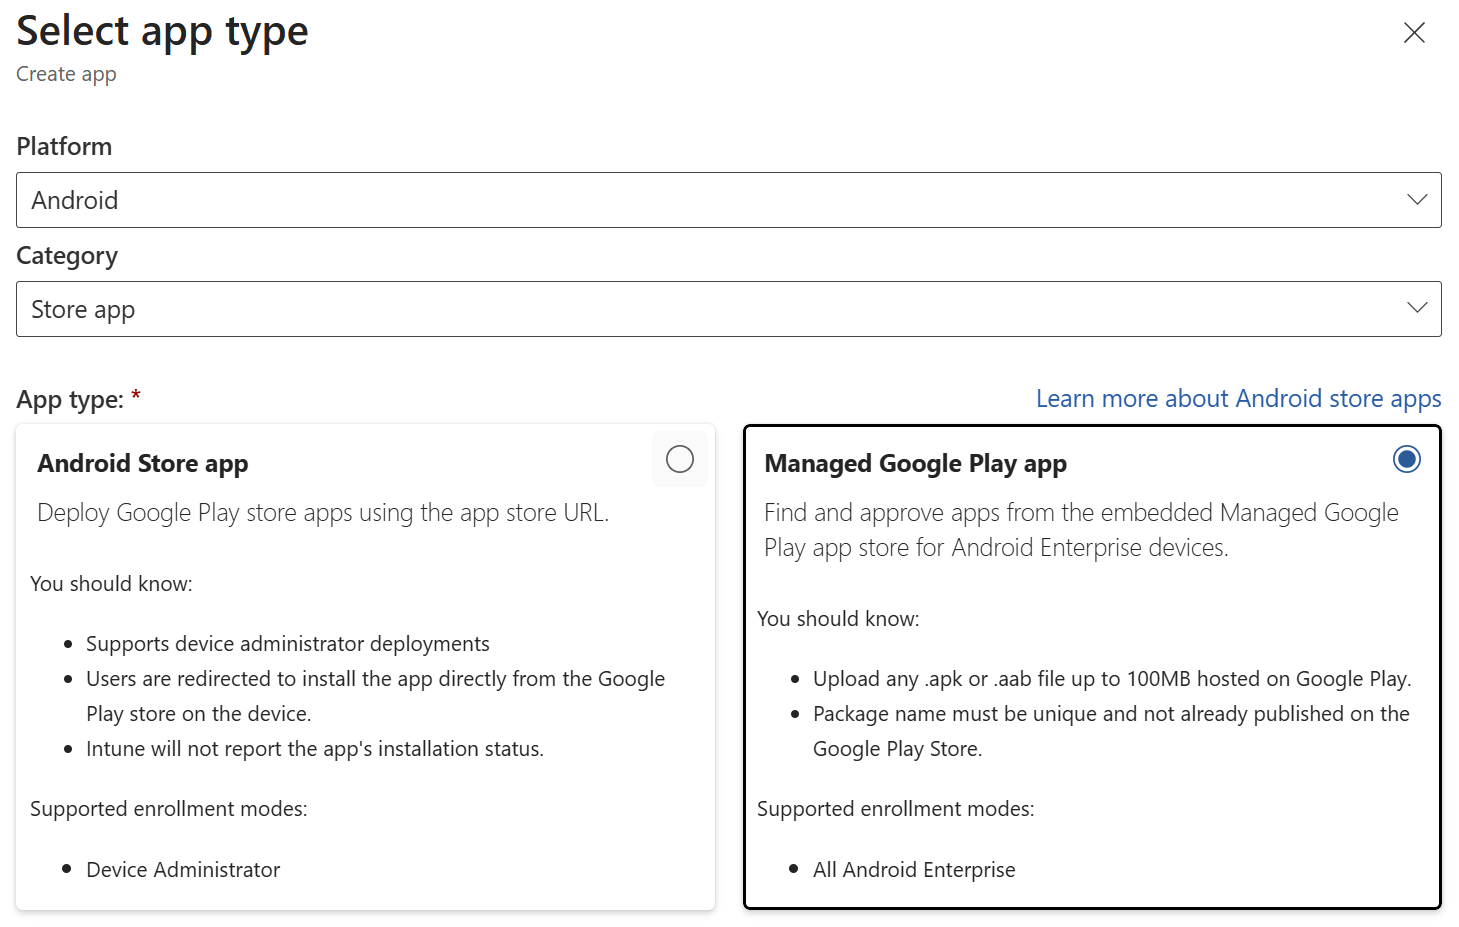
Click Create then select Android as the platform and Store app as the type, then choose Managed Google Play app and click Select.
Enter “Dash meeting room display” and click the Search button. Dash should be returned in the search results. Click it, then click Approve. Approve any options you are asked for, then click Select, and click Sync (at the top of the window).
You should be on the All Apps screen, and should see Dash in your list of apps as a Managed Google Play store app. Note that it can take some time for Dash to appear in the list after it is approved.
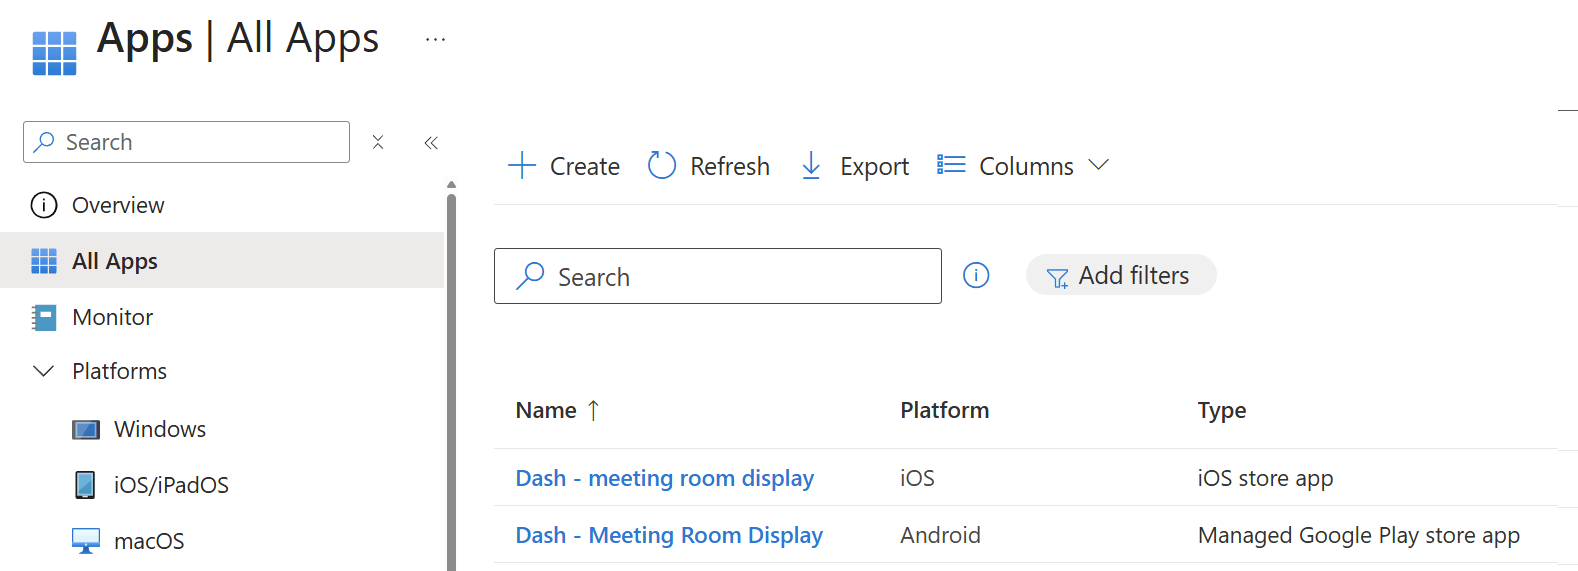
Assign the app to your desired groups by clicking on Dash in the apps list, then clicking Properties and clicking Edit (next to Assignments). Add groups to the Required section to have Dash installed automatically on devices in those groups. Add Dash to the Available for enrolled devices section to make Dash available to install manually.
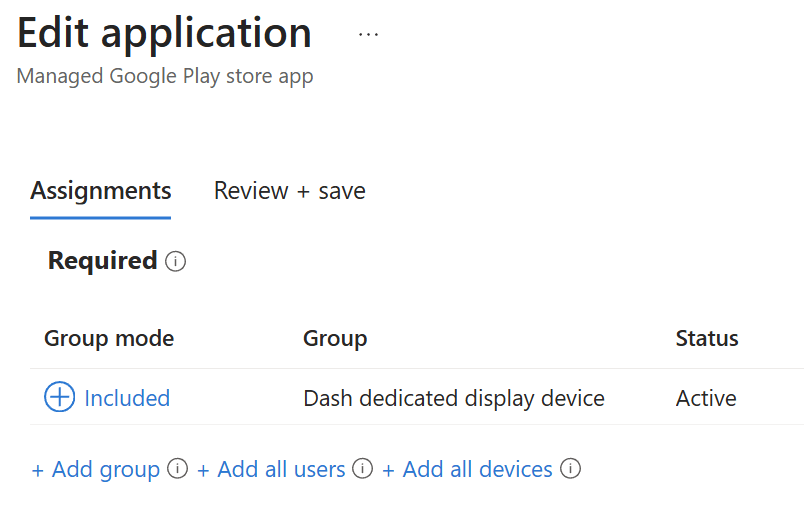
Click Review+Save to load the review screen. Make sure that all details are correct, then click Save.


Step 2: Create the managed profile for Dash
In the Endpoint manager console, click Apps then App configuration policies.
Click Add and select Managed devices as the type.
Set Android Enterprise as the type
Select the appropriate Profile type. For Dash display devices, this is usually Fully Managed, Dedicated, and Corporate-Owned Work Profile Only, but if in doubt select All Profile Types
Click Select app (next to Targeted app) and choose Dash and click Next
Under Configuration settings format, choose Use configuration designer.
InTune will automatically detect Dash’s available configuration options. To add an option to your Dash configuration, click the Add button and search for the option you would like to add. A full list of options is provided in our MDM configuration guide PDF.
To finish adding an option, click the checkbox next to it, then click OK. The option will be added to your configuration and set to its default value. To change the value, click on the default value in the Configuration value column of the table, and enter a new value. Choice type values can be chosen via a dropdown, and other values can be entered as text. For detailed information on the allowed values for each option, please see our MDM configuration guide PDF.
Once you have finished setting your configuration options, click Next and then assign the profile to your desired groups (usually the same groups you assigned the Dash app to in Step 1). Click Next, review your configuration, and click Create.